
The main difference in Xenserver is that the Linux kernel is paravirtualized.
Tools for the trade:
- vmware vSphere Client
- Xencenter
- Very little Linux terminal skills :)
STEP 1
Optional: take a snapshot
Drop into vSphere Client and take a snapshot. |
| It is safe to take a snapshot prior to daamge your work |
STEP 2
Uninstall vmware Tools
Connect to virtual machine console and type as root:
# rpm -e --nodeps $( rpm -qa | grep vmware-tools)
STEP 3
Export the Virtual Machine into an OVF Package.
Shutdown your VM then in VSphere Client Select your VM and click on File->Export->Export OVF Template
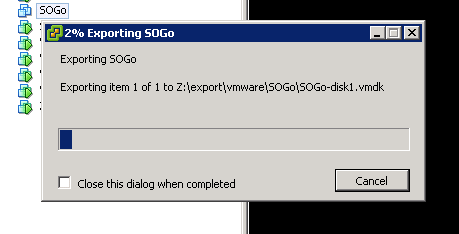 |
| Export your VM - now you can go take some coffee |
STEP 4
Import The VM in Xenserver
Now move to Xencenter, right click on the Pool then select Import...
 |
| Time to import your VM - now you can go take another coffee |
STEP 5
Configure VM for PV.
Power on your VM and login to console as root.Remove the stock kernel and install the xen-aware kernel by typing
# yum remove kernel

# yum install kernel-xen
Edit the bootloader, add to "kernel=" line
console=hvc0
Then shutdown your VM.
Now open a console to your Xenserver host and change boot policy from HVM to PV:
xe vm-list name-label=[NAME-OF-YOUR-VM]

uuid ( RO)           : [UUID-OF-YOUR_VM]

     name-label ( RW): SOGo

    power-state ( RO): halted


xe vm-param-set uuid=[UUID-OF-YOUR_VM] HVM-boot-policy="" PV-bootloader=pygrub PV-args="graphical utf-8"


xe vm-disk-list uuid=[UUID-OF-YOUR_VM]

Disk 0 VBD:

uuid ( RO)             : [UUID-OF-VBD]

    vm-name-label ( RO): SOGo

       userdevice ( RW): 0

[...]


xe vbd-param-set uuid=[UUID-OF-VBD] bootable=true
Then Power on your VM and Install XenTools.
Source: CTX121875
